Kia Cee'd: Manual heating and air conditioning / Air intake control

This is used to select the outside (fresh) air position or recirculated air position. To change the air intake control position, push the control button.
Recirculated air position
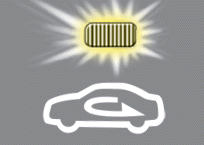
With the recirculated air position selected, air from the passenger compartment will be drawn through the heating system and heated or cooled according to the function selected.
Outside (fresh) air position
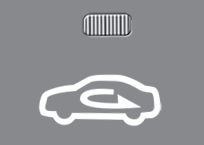
With the outside (fresh) air position selected, air enters the vehicle from outside and is heated or cooled according to the function selected.
✽ NOTICE
Prolonged operation of the heater in the recirculated air position (without air conditioning selected) may cause fogging of the windshield and side windows and the air within the passenger compartment may become stale.
In addition, prolonged use of the air conditioning with the recirculated air position selected will result in excessively dry air in the passenger compartment.
WARNING
- The continuous use of recirculated air in the climate control system may increase humidity inside the vehicle, causing the glass to fog and obscuring visibility.
- Do not sleep in a vehicle with the air conditioning or heating system on. It may cause serious harm or death due to a drop in the oxygen level and/or body temperature.
- The continuous use of recirculated air in the climate control system can produce drowsiness or sleepiness, which may result in a loss of vehicle control. Set the air intake control to the outside (fresh) air position as much as possible while driving.
 Temperature control
The temperature will increase to the
maximum (HI) by turning the knob to the
right extremely.
The temperature will decrease to the
minimum (Lo) by turning the knob to the
left extremely.
W ...
 Fan speed control
The fan speed can be set to the desired
speed by pressing the fan speed control
button.
To change the fan speed, press the upper
button () for higher speed, or press
the lower button () for ...
Other information:
Kia Cee'd JD Owners Manual: Fuel filter (for Diesel)
Draining water from fuel filter
The fuel filter for diesel engine plays an
important role of separating water from
fuel and accumulating the water in its
bottom.
If water accumulates in the fuel filter, the
warning light comes on when the ignition
switch is in the ON position.
If this ...
Kia Cee'd JD Owners Manual: Child-protector rear door lock
(5 Door and wagon)
The child safety lock is provided to help
prevent children from accidentally opening
the rear doors from inside the vehicle.
The rear door safety locks should be used
whenever children are in the vehicle.
1. Open the rear door.
2. Insert a key (or screwdriver) into the
hole (1) and tur ...
