Kia Cee'd: Rear Seat / Rear Seat Back Cover Repair procedures
Kia Cee'd JD Service Manual / Body (Interior and Exterior) / Rear Seat / Rear Seat Back Cover Repair procedures
| Replacement |
[LH]
|
|
| 1. |
Remove the rear seat back assembly [LH].
(Refer to Rear Seat - "Rear Seat Assembly")
|
| 2. |
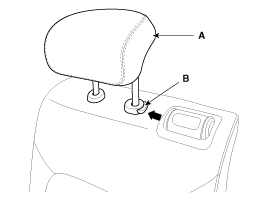
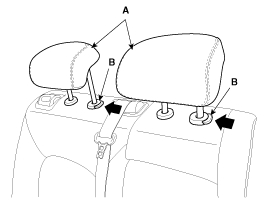
Push the lock pin (B), remove the rear seat headrest (A).
|
| 3. |
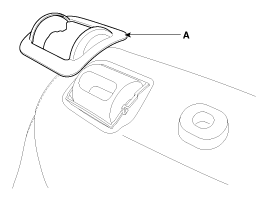
Using a screwdriver or remover, remove the rear seat latch cover (A).
|
| 4. |
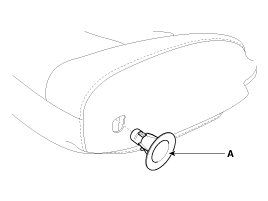
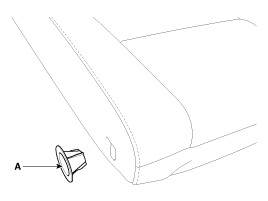
Using a screwdriver or remover, remove the rear seat pivot bush (A).
|
| 5. |
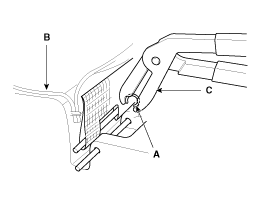
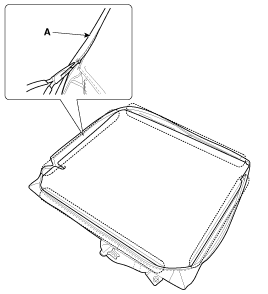
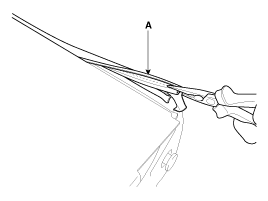
Disconnect the rear seat back cover protector (A).
|
| 6. |
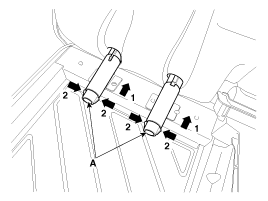
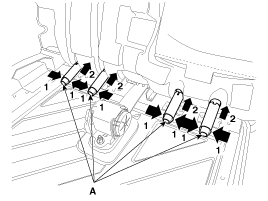
Pull out the headrest guides (A) while pinching the end of the guides,
and remove them.
|
| 7. |
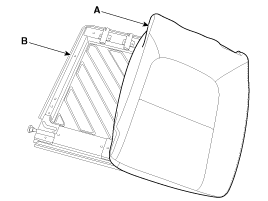
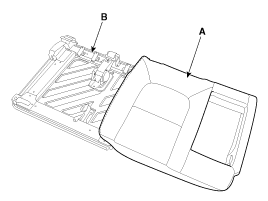
Remove the rear seat back cover (A) from the rear seat back structure
(B).
|
| 8. |
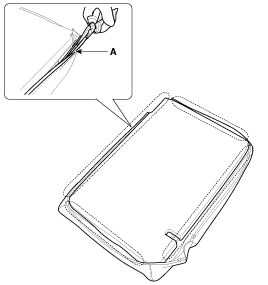
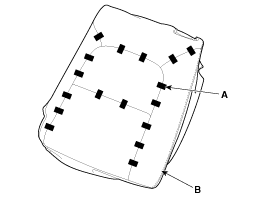
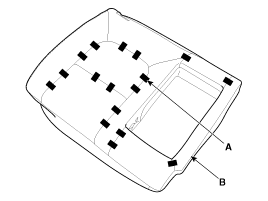
After removing the hog-ring clips (A) on the rear of seat back and remove
the rear seat back cover (B).
|
| 9. |
Install in the reverse order of removal.
|
[RH]
|
|
| 1. |
Remove the rear seat back assembly [RH].
(Refer to Rear Seat - "Rear Seat Assembly")
|
| 2. |
Push the lock pin (B), remove the rear seat headrest (A).
|
| 3. |
Using a screwdriver or remover, remove the rear seat latch cover (A).
|
| 4. |
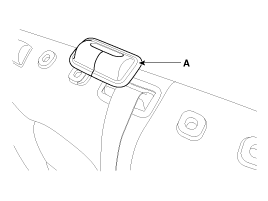
Using a screwdriver or remover, remove the rear seat belt outlet cover
(A).
|
| 5. |
Using a screwdriver or remover, remove the rear seat pivot bush (A).
|
| 6. |
To remove the rear seat armrest
[5Door, Waggon only]
|
| 7. |
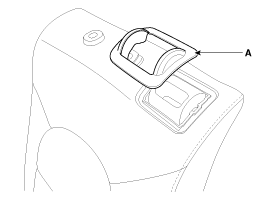
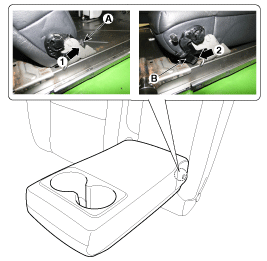
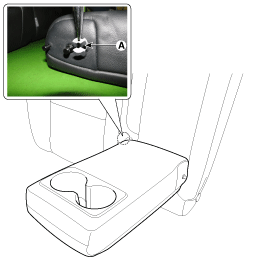
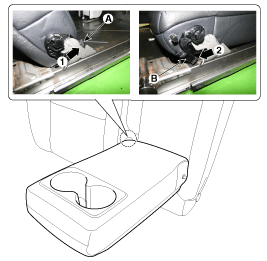
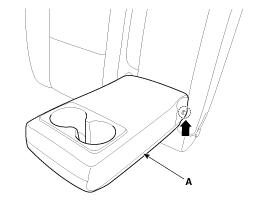
Remove the rear seat armrest (A) by lifting the left side.
[5Door, Waggon only]
|
| 8. |
Disconnect the rear seat back cover protector (A).
|
| 9. |
Disconnect the rear seat back upper protector (A).
|
| 10. |
Pull out the headrest guides (A) while pinching the end of the guides,
and remove them.
|
| 11. |
Remove the rear seat back cover (A) from the rear seat back structure
(B).
|
| 12. |
After removing the hog-ring clips (A) on the rear of seat back and remove
the rear seat back cover (B).
|
| 13. |
Install in the reverse order of removal.
|
 Rear Seat Back Cover Components and components location
Component Location
1. Rear seat back cover [LH]
2. Rear seat back cover [RH]
...
 Rear Seat Cushion Cover Components and components location
Component Location
1. Rear seat cushion cover [LH]
2. Rear seat cushion cover [RH]
...
Other information:
Kia Cee'd JD Owners Manual: Driver's and passenger's front air
bag
■ Driver’s front air bag
Your vehicle is equipped with a
Supplemental Restraint (Air Bag) System
and lap/shoulder belts at both the driver
and passenger seating positions.
The indications of the system's presence
are the letters "AIR BAG" embossed on
the air bag pad cover in the st ...
Kia Cee'd JD Service Manual: Gear Actuator Motor Specifications
Specification
Gear Actuator Motor
▷ Specifications
Item
Specifications
Operating condition (°C) °F
(20)68
Output resistance (mΩ)
48 ± 3.4
...
© 2017-2025 www.kceed.com


