Kia Cee'd: Lighting System / Hazard Lamp Switch Repair procedures
Kia Cee'd JD Service Manual / Body Electrical System / Lighting System / Hazard Lamp Switch Repair procedures
| Inspection |
| 1. |
It will be able to diagnose defects of hazard switch with GDS quickly.
GDS can operates actuator forcefully, input/output value monitoring
and self diagnosis.
|
| 2. |
Select model and "BCM".
|
| 3. |
Select the "SJB" to check.
|
| 4. |
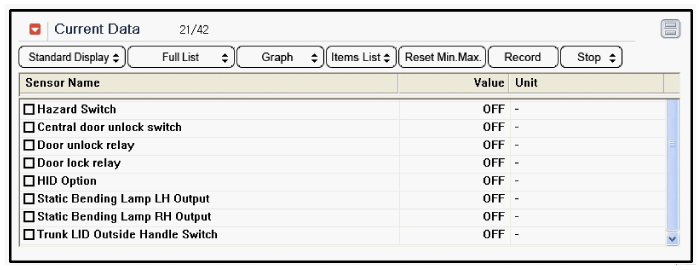
Select "Current data", if you will check current data of hazard switch.
It provides input/output status of SJB.
|
| Removal |
| 1. |
Disconnect the negative (-) battery terminal.
|
| 2. |
Remove the center airvent duct.
(Refer to Body - "Cluster Fascia Panel")
|
| 3. |
Remove the hazard switch (A) after disengaging the clip from the center
airvent duct.
|

| Installation |
| 1. |
Install the hazard switch to the center airvent duct.
|
| 2. |
Install the center airvent duct.
|
 License Lamp Repair procedures
Removal
[5Door]
1.
Disconnect the negative (-) battery terminal.
2.
Remove the license lamp assembly after pushing the fixi ...
 Rheostat Repair procedures
Inspection
1.
Disconnect the negative (-) battery terminal.
2.
Remove the crash pad lower panel.
(Refer to Body - "Crash P ...
Other information:
Kia Cee'd JD Service Manual: Lane Departure Warning System (LDWS) Unit Repair procedures
Removal
1.
Disconnect the negative (-) battery terminal.
2.
Remove the mirror wiring cover (A).
3.
Remove the LDWS unit cover (A).
4.
Disconnect the LDWS unit ...
Kia Cee'd JD Service Manual: Repair procedures
Compession Pressure Inspection
If the there is lack of power, excessive oil consumption or poor fuel
economy, measure the compression pressure.
1.
Make sure the oil in the cran ...
© 2017-2026 www.kceed.com
