Kia Cee'd: Floor Console / Floor Console Assembly Repair procedures
Kia Cee'd JD Service Manual / Body (Interior and Exterior) / Floor Console / Floor Console Assembly Repair procedures
| Replacement |
[M/T]
|

|

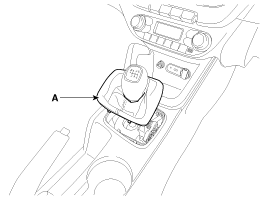
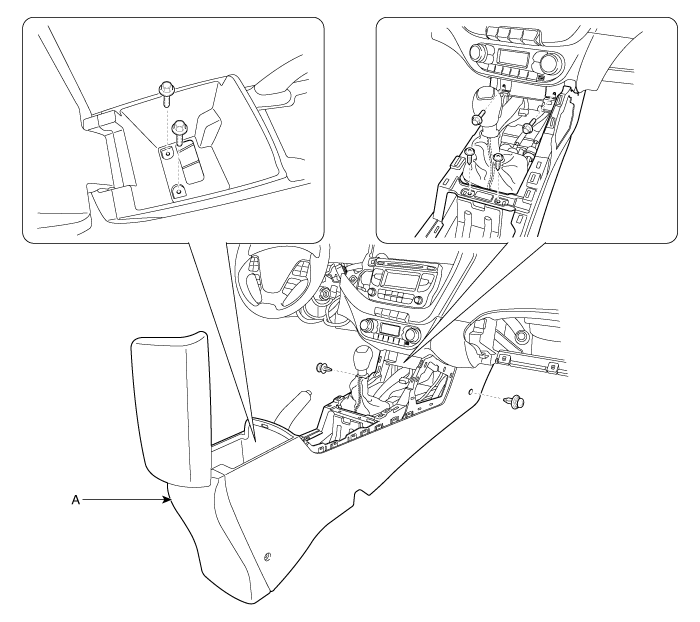
| 1. |
Disconnect the gear boots (A).
|
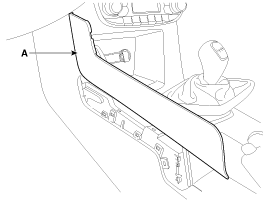
| 2. |
Using a screwdriver or remover, remove the console garnish (A).
[LH]
[RH]
|
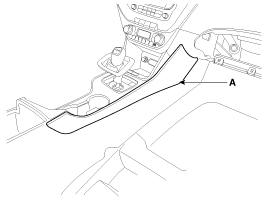
| 3. |
Using a screwdriver or remover, remove the console upper cover (A).
|
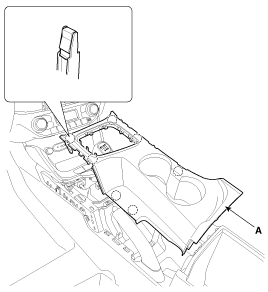
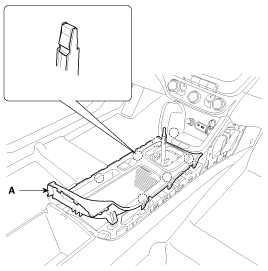
| 4. |
After loosening the mounting screws, then remove the console tray (A).
|
| 5. |
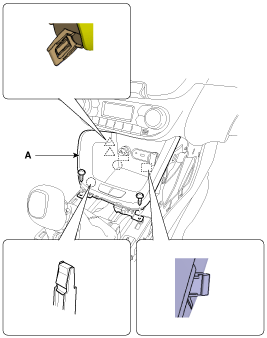
Disconnect the connectors (A).
|
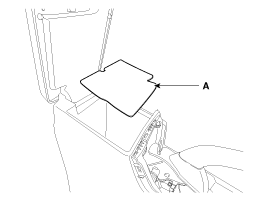
| 6. |
Remove the console tray mat (A).
|
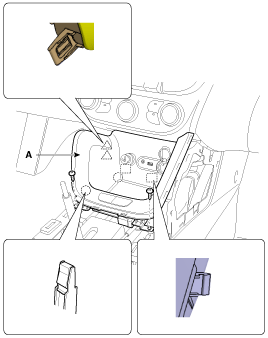
| 7. |
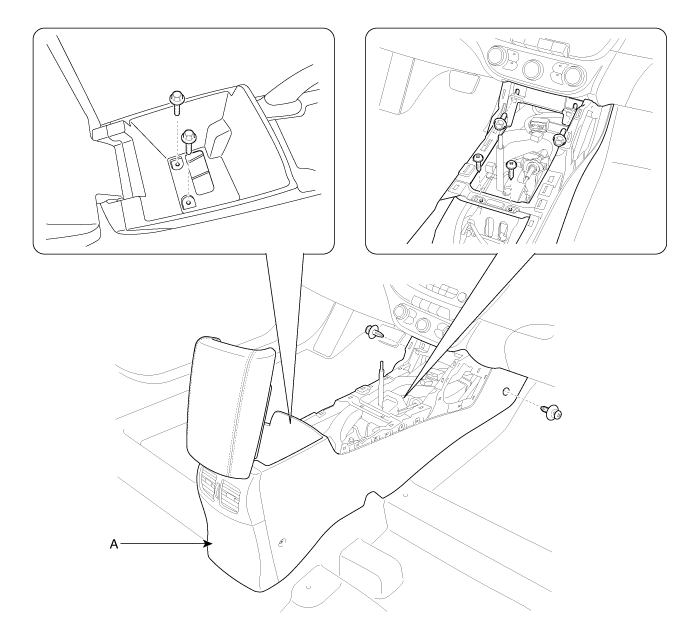
After loosening the mounting screws, bolts, clips, then remove the floor
console assembly (A).
|
| 8. |
Install in the reverse order of removal.
|

[A/T]
|
|
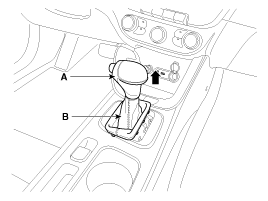
| 1. |
Remove the gear boots (B) and gear knob (A).
|
| 2. |
Using a screwdriver or remover, remove the console garnish (A).
[LH]
[RH]
|
| 3. |
Using a screwdriver or remover, remove the console upper cover (A).
|
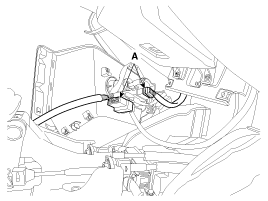
| 4. |
Disconnect the indicator connector (A).
|
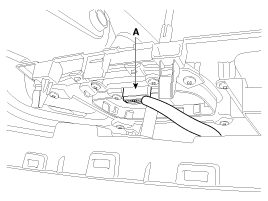
| 5. |
Disconnect the EPB switch connector (A).
|

| 6. |
After loosening the mounting screws, then remove the console tray (A).
|
| 7. |
Disconnect the connectors (A).
|
| 8. |
Remove the console tray mat (A).
|
| 9. |
After loosening the mounting screws, bolts, clips, then remove the floor
console assembly (A).
|
| 10. |
Install in the reverse order of removal.
|
 Floor Console Assembly Components and components location
Component Location
1. Floor console assembly
...
 Rear Console Cover Components and components location
Component Location
1. Rear console cover
...
Other information:
Kia Cee'd JD Service Manual: Multimedia Jack Description and operation
Description
The multimedia jack on the console upper cover is for customers who like to
listen to external portable music players like the MP3, iPod and etc., through
the vehicle's sound system when it is linked to this jack. The customer has
this added option.
In c ...
Kia Cee'd JD Service Manual: Front Seat Back Cover Repair procedures
Replacement
[5Door, Waggon]
•
Put on gloves to protect your hands.
...
© 2017-2026 www.kceed.com
