Kia Cee'd: Engine Control System / Heated Oxygen Sensor (HO2S) Repair procedures
| 1. |
Turn the ignition switch OFF.
|
| 2. |
Disconnect the HO2S connector.
|
| 3. |
Measure resistance between the HO2S terminals 2 and 5 [B1/S1].
|
| 4. |
Measure resistance between the HO2S terminals 3 and 4 [B1/S2].
|
| 5. |
Check that the resistance is within the specification.
|
Specification: Refer to “Specification”
|
|
| 1. |
Turn the ignition switch OFF and disconnect the battery negative (-)
cable.
|
| 2. |
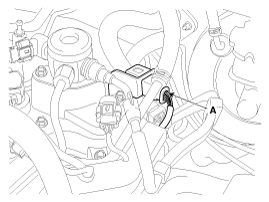
Disconnect the connector (A), and then remove the sensor (B).
|
Note that the SST (Part No.: 09392-1Y100) is useful when removing
the heated oxygen sensor.
|
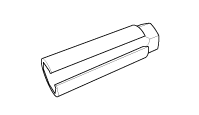
[Bank 1 / Sensor 1]
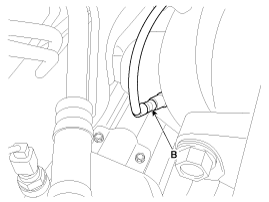
[Bank 1 / Sensor 2]
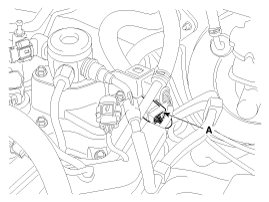
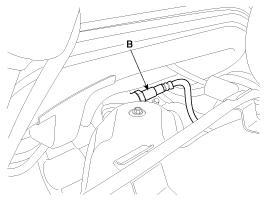
|
| • |
Install the component with the specified torques.
|
| • |
Note that internal damage may occur when the component is dropped.
If the component has been dropped, inspect before installing.
|
|
| • |
DON’T use a cleaner, spray, or grease to sensing element and
connector of the sensor because oil component in them may malfunction
the sensor performance.
|
| • |
Sensor and its wiring may be damaged in case of contacting with
the exhaust system (Exhaust Manifold, Catalytic Converter, and
so on).
|
|
| 1. |
Installation is reverse of removal.
|
Heated oxygen sensor installation:
39.2 ~ 49.1 N.m (4.0 ~ 5.0 kgf.m, 28.9 ~ 36.2 lb-ft)
|
|
Description
Rail Pressure Sensor (RPS) is installed on the delivery pipe and measures the
instantaneous fuel pressure in the delivery pipe. The sensing element (Semiconductor
ele ...



 Heated Oxygen Sensor (HO2S) Schematic diagrams
 Rail Pressure Sensor (RPS) Description and operation