Kia Cee'd: Manual Transaxle System / Manual Transaxle Repair procedures
Kia Cee'd JD Service Manual / Manual Transaxle System / Manual Transaxle System / Manual Transaxle Repair procedures
| Removal |
| 1. |
Remove the air cleaner assembly.
(Refer to Engine Mechanical System - "Air Cleaner")
|
| 2. |
Remove the battery and battery tray.
(Refer to Engine Electrical System - "Battery")
|
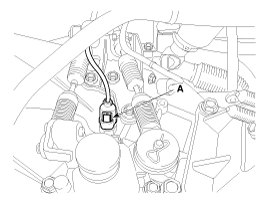
| 3. |
Disconnect the back up lamp switch (A).
|
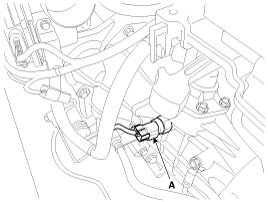
| 4. |
Disconnect the neutral switch connector (A).
|
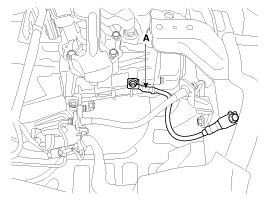
| 5. |
Remove the ground (A).
|
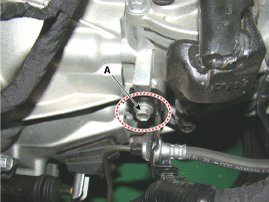
| 6. |
Remove the clutch tube bracket bolt (A).
|
| 7. |
Remove the control cable.
|
| 8. |
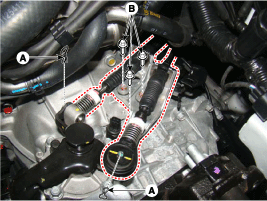
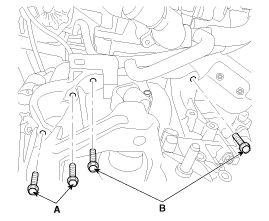
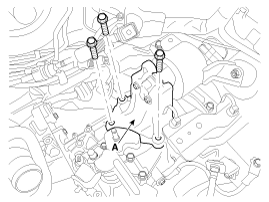
Remove the transaxle upper mounting bolts (B) and the starter mounting
bolts (A).
|
| 9. |
Remove the cowl top cover.
(Refer to Body - "Cowl Top Cover")
|
| 10. |
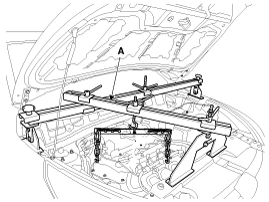
Install the engine support fixture (A).
(Refer to Special Service Tools-"Engine support fixture assembly drawing")
|
| 11. |
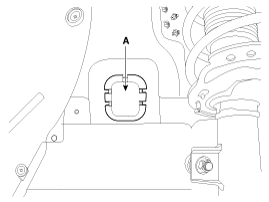
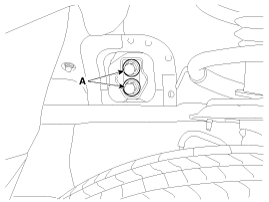
Remove the cover (A).
|
| 12. |
Remove the transaxle mounting bracket bolts (A).
|
| 13. |
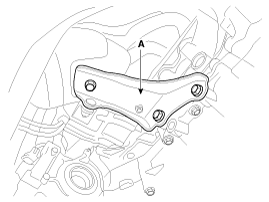
Remove the transaxle support bracket (A).
|
| 14. |
Remove the under cover.
(Refer to Engine Mechanical System - "Engine Room Under Cover")
|
| 15. |
Remove the driveshaft assembly.
(Refer to Driveshaft and axle - "Front Driveshaft")
|
| 16. |
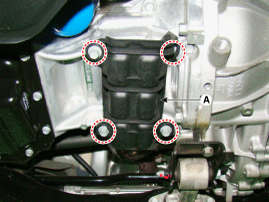
Remove the bracket (A).
|
| 17. |
Remove the driveshaft heat protector (A).
|
| 18. |
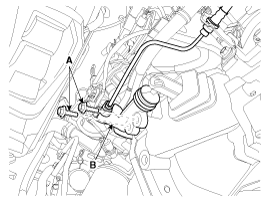
Remove the clutch release cylinder assembly (B) after removing the bolts
(A).
|
| 19. |
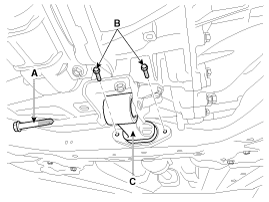
Remove the roll rod bracket (C) after removing bolts (A, B).
|
| 20. |
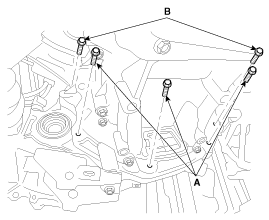
Remove the mounting bolts (A, B) after supporting the transaxle by a
jack.
|
| 21. |
Remove the transaxle while slowly lower the jack.
|
Be careful not to damage other system or parts near by when removing
the transaxle assembly.
|
| Installation |
Replace the oil seal with a new one by using special tool (09431-26100)
when oil leak occurred because of differential oil seal damage.
|
| 1. |
Install in the reverse order of removal.
|
 Manual Transaxle Components and components location
Components
1. Manual transaxle assembly
2. Manual transaxle support bracket
3. Clutch release bearing
4. Clutch release fork
5. Control cable brac ...
 Back-up Lamp Switch Specifications
Specifications
Item
Specified
Type
ON/OFF
Operation condition
Reverse gear
...
Other information:
Kia Cee'd JD Service Manual: Shift Lever Components and components location
Components
1. Shift lever assembly
2. Shift cable assembly
3. Retainer
4. Bolt
5. Nut
6. Manual control lever
...
Ford Escape 2020-2026 Owners Manual: Child Safety Precautions
WARNING: Always make sure your
child is secured properly in a device that
is appropriate for their height, age and
weight. Child safety restraints must be
bought separately from your vehicle.
Failure to follow these instructions and
guidelines may result in an increased risk
of serious injury ...
© 2017-2026 www.kceed.com


