Kia Cee'd: Floor Console / Floor Console Assembly Repair procedures
| Replacement |
|

|

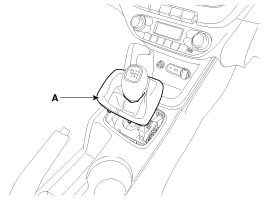
| 1. |
Disconnect the gear boots (A).
|
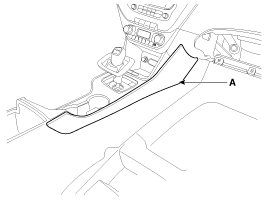
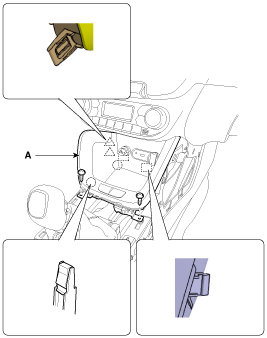
| 2. |
Using a screwdriver or remover, remove the console garnish (A).
[LH]
[RH]
|
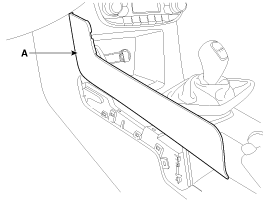
| 3. |
Using a screwdriver or remover, remove the console upper cover (A).
|
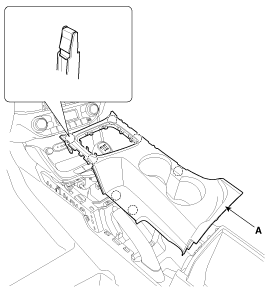
| 4. |
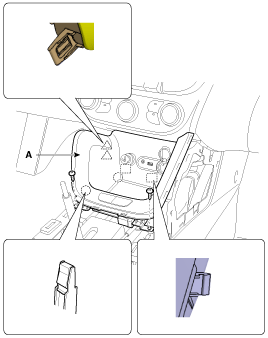
After loosening the mounting screws, then remove the console tray (A).
|
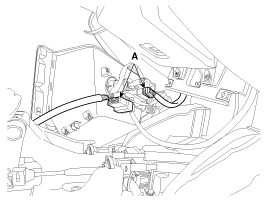
| 5. |
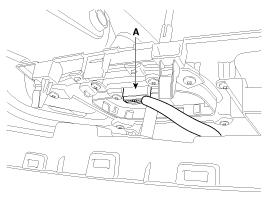
Disconnect the connectors (A).
|
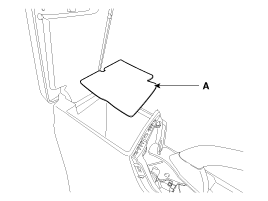
| 6. |
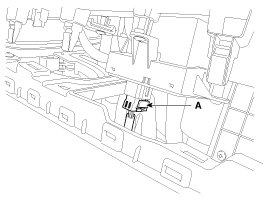
Remove the console tray mat (A).
|
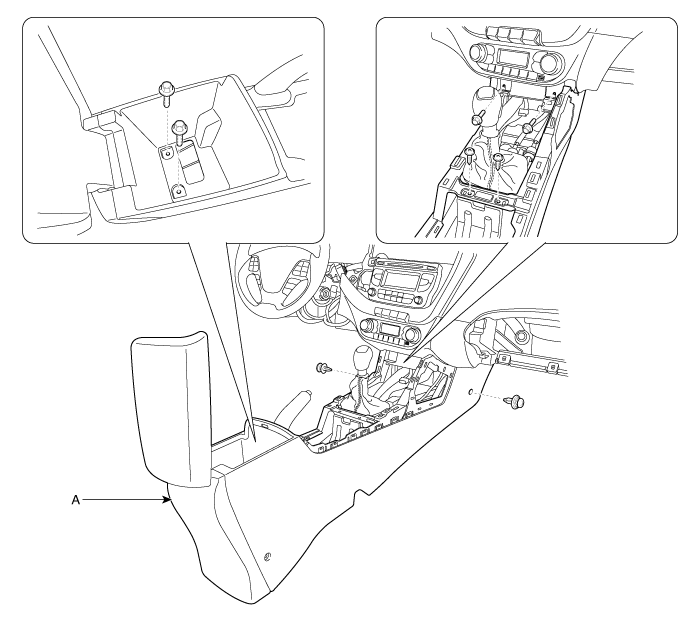
| 7. |
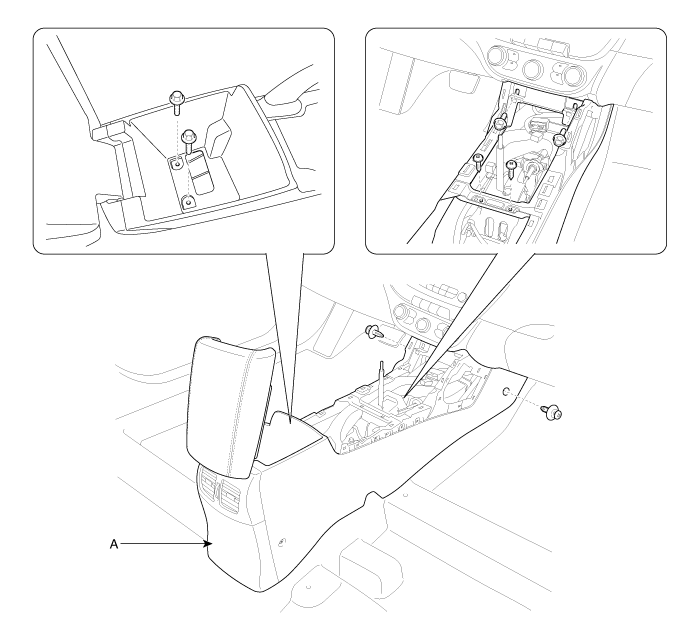
After loosening the mounting screws, bolts, clips, then remove the floor
console assembly (A).
|
| 8. |
Install in the reverse order of removal.
|

|
|
| 1. |
Remove the gear boots (B) and gear knob (A).
|

| 2. |
Using a screwdriver or remover, remove the console garnish (A).
[LH]
[RH]
|
| 3. |
Using a screwdriver or remover, remove the console upper cover (A).
|

| 4. |
Disconnect the indicator connector (A).
|
| 5. |
Disconnect the EPB switch connector (A).
|
| 6. |
After loosening the mounting screws, then remove the console tray (A).
|
| 7. |
Disconnect the connectors (A).
|
| 8. |
Remove the console tray mat (A).
|
| 9. |
After loosening the mounting screws, bolts, clips, then remove the floor
console assembly (A).
|
| 10. |
Install in the reverse order of removal.
|
 Floor Console Assembly Components and components location
Component Location
1. Floor console assembly
...
 Rear Console Cover Components and components location
Component Location
1. Rear console cover
...
Other information:
Kia Cee'd JD Service Manual: Delivery Pipe Repair procedures
Removal
In case of removing the high pressure fuel pump, high pressure fuel
pipe, delivery pipe, and injector, there may be injury caused by leakage
of the high pressure fuel. So don’t do any repair w ...
Kia Cee'd JD Owners Manual: Releasing the parking brake
To release the EPB (electric parking
brake), press the EPB switch in the following
condition:
Have the ignition switch or engine
start/stop button in the ON position.
Depress the brake pedal.
Make sure the brake warning light goes
off.
To release EPB (electric parking brake)
a ...
