Kia Cee'd: Manual Transaxle Control System / Shift Lever Repair procedures
Kia Cee'd JD Service Manual / Manual Transaxle System / Manual Transaxle Control System / Shift Lever Repair procedures
| Removal |
| 1. |
Disconnect the battery negative (-) cable.
|
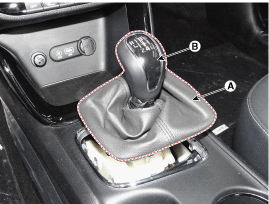
| 2. |
Remove the gear boots (A) and then remove the shift lever knob (B) by
rotating counter-clockwise.
|
| 3. |
Remove the floor console assembly.
(Refer to Body - " Floor Console")
|
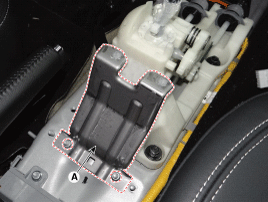
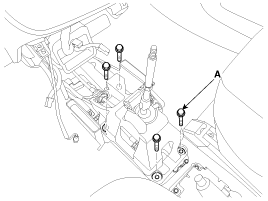
| 4. |
Remove the bracket (A).
|
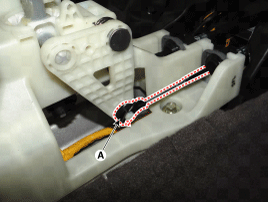
| 5. |
Remove the select cable (A) from the shift lever after removing the
snap pin.
|
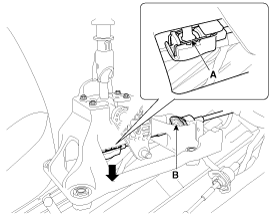
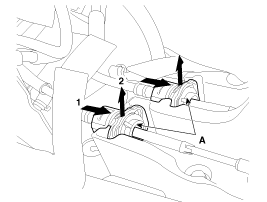
| 6. |
Remove the shift cable (B) after removing the clip (A).
|
| 7. |
Remove the cable sockets (A) from the shift lever.
|
| 8. |
Remove the shift lever assembly (A).
|
| Installation |
| 1. |
Install in the reverse order of removal.
|
 Shift Lever Components and components location
Components
1. Knob & Boots
2. Shift lever assembly
3. Shift cable
4. Select cable
5. Control cable retainer
...
 Control Cable Components and components location
Components
1. Knob & Boots
2. Shift lever assembly
3. Shift cable
4. Select cable
5. Control cable retainer
...
Other information:
Kia Cee'd JD Service Manual: Clutch Actuator Motor 2 (Even Gear) Specifications
Specification
Clutch Actuator Motor 2 (Even Gear)
▷ Specification
Item
Specifications
Operating condition (°C) °F
(20) 68
Output resistance (mΩ)
48 ± 7%
...
Kia Cee'd JD Owners Manual: ON
With manual transaxle
Press the engine start/stop button when
the button is in the ACC position without
depressing the clutch pedal.
With automatic transaxle/DCT
Press the engine start/stop button while it
is in the ACC position without depressing
the brake pedal.
The warning lights ca ...
© 2017-2026 www.kceed.com
